![[Your Site Name]](/storage/WideOpen%203%20tst2.jpg "[Your Site Name]")

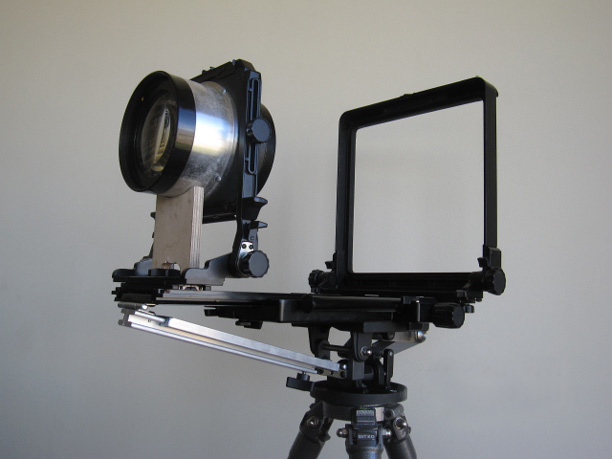
Strut modification to my Toyo 810MII-Ries Head to support the weight of the 610mm AeroTessar
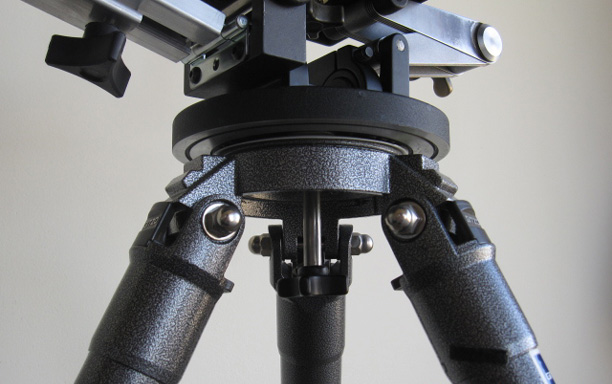
Starting from the bottom up: After purchasing my Ries head, Ries agreed to modify my Gitzo 1500 by machining a tightening screw coming from the bottom of the tripod up through to the Ries head. They did this mod ‘gratis’ and provided a delrin type spacer between the Gitzo and Ries head so you can loosen the tightening screw to pan the Ries head/camera combination very smoothly.
Initially I attempted to use a light stand as a second support in addition to my tripod to support the weight of my 600mm Aerotessar on the extension of my Toyo 810MII which resulted in my having to take the lens off the camera/dis-assemble everything to reframe, even if it was an adjustment of a 1/8 of an inch.. That wasn’t going to work.
Considering the bed and extension of the Toyo 810MII as a ‘wing’, I decided a ‘strut’ was the answer to machining a support that would hold the AeroTessar while allowing me to pan/tilt the camera w/the AeroTessar aboard. I began ‘brainstorming’ a strut connecting the end of the Toyo extension bed to my Ries head. There were several considerations that made this harder than I initially thought it would be. The final iteration of the strut support modification shown here was my solution to the problems that came up.
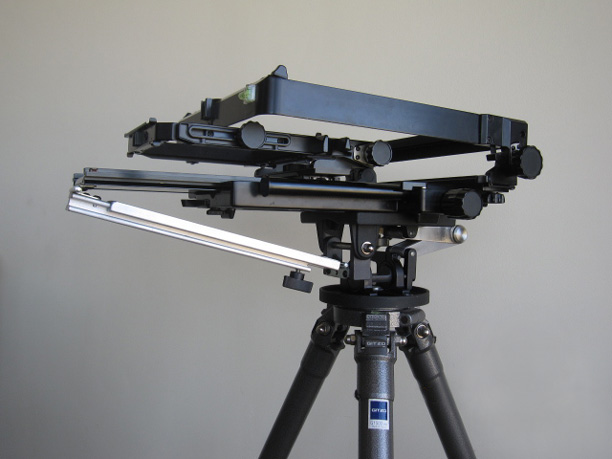
One pic shows the Toyo sans bellows, folded up, and the strut underneath connected from the cameras extension bed to the Ries head. The Ries head is now ‘dedicated’ to the Toyo by way of the strut support, and since everything’s lined up, and I only use the Ries w/my Toyo, there’s no reason to ever dis-assemble this comination and this is how I’ll use/store/transport this combination.
The exact length of the strut was based on an initial default position leaving the ext. bed extended about halfway out of the camera’s bed, this way I can shift the front standard w/shorter focal length lenses back and still use them at the default position, but also extend the extension to use the AeroTessar for CU work.
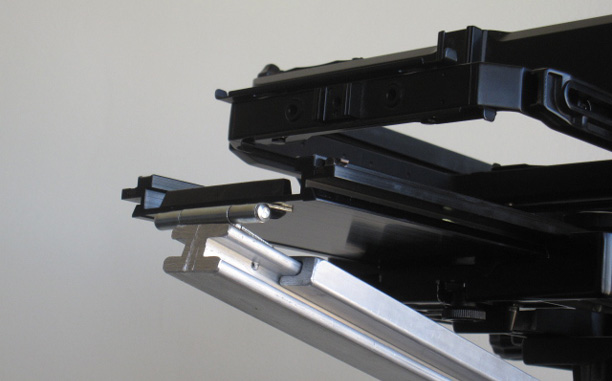
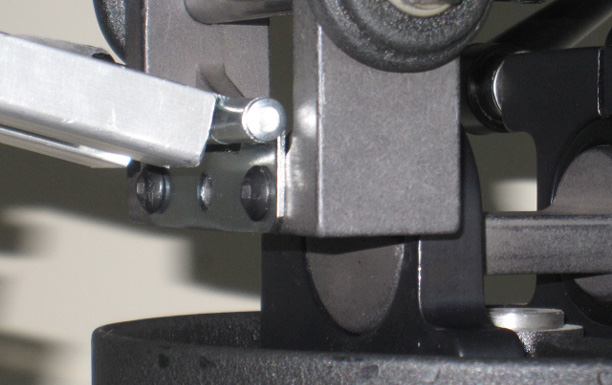
The strut consists of two extrusions, an ‘H’ shaped extrusion connected by a door hinge to the extension end of the camera, and a ‘closed in’ channel extrusion connected by a door hinge to the middle section of my Ries head. One side of the ‘H’ shape fits into the channel extrusion and telescopes in and out of the channel extrusion as you pull out the camera extension bed for additional bellows draw. There’s a fastening knob at the extreme end of the H extrusion which goes through that extrusion ‘butting’ up against the inside of the channel extrusion which is then tightened down at any set position. The strut had to be this way for this to work, as I’ll explain.
As shown by the pics, the bed of Toyo, the downward angle of the strut, and the vertical face of the Ries head where the struts is connected, in effect, form a right triangle, and pulling out the extension/lengthening the telescoping strut changes one side of that ‘triangle’ and so there’s a slight change in the opposing angles of the right triangle formed by the new position(because one side of the triangle has been lengthened).
This is why the strut had to end in door hinges at both ends, there’s a slight pivot at both ends which the door hinges take care of as the telescoping strut is lengthened or shortened. Trust me, without the door hinges, the telescoping strut DOESN’T WORK.
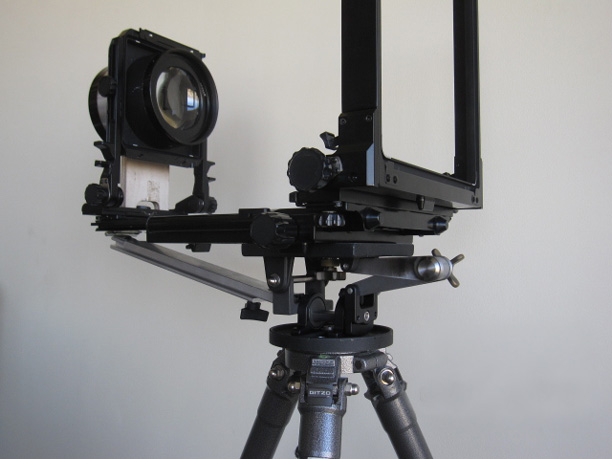
The Ries head consist of 3 sections, the top section which tilts up/down, and is connected to the middle section which pivots/tilts over left/right, and the strut is connected to this middle section so that the AeroTessar is supported by the strut as you reconfigure the position of the Ries head or loosen the tripod tightening screw to pan left/right. The AT has to be removed only when lengthening/shortening the strut.
Two shots show the AeroTessar onboard, and the strut supporting it’s weight(plus a piece of plywood supporting the lens in the front standard). The back of the AT has been blacked off.
The back lens element of the front group of the AT can be screwed in/out to mimic the front diffusion ring of the Velostigmat and that, and its F6 and 610mm focal length is why I went to all this trouble in the first place.
The aluminum extrusions are a very common profile if you decide to do something like this. This had to work or I wasn’t going to use the AT on my Toyo, Period.
I’ll began to shoot w/this outfit shortly.
 Jonathan Brewer
 1 Comment
Reader Comments (1)
Very professionally done. I for one look forward to your next photographic project. I hope it is a relaxing release from the past 12 months.
Nice to see you back with the desire to shoot.
Steve